
Start with a clean nail; file into desired shape (I usually go for squoval but my nails are a little short at the moment), push cuticles back with an orange stick, and leave to soak in a good oil for 5 minutes. This is the part where I get to show my beauty find with you! Liz Earle's Superskin Concentrate Oil is amazing for moisturising my skin, goes wonderfully under make up, and helps me to go to sleep when massaged into my face and neck. It is such a diverse product and I have found another use for it! I roll the oil over my cuticles and on any dry patches on my hands, allow to soak in and then massage the excess into my skin. It does wonders as a cuticle oil!

Then buff your nails; removing ridges, smoothing, shining and polishing away to leave a smooth glass-like nail. I then apply a good nail strengthening base coat such as Elizabeth Arden's (below).


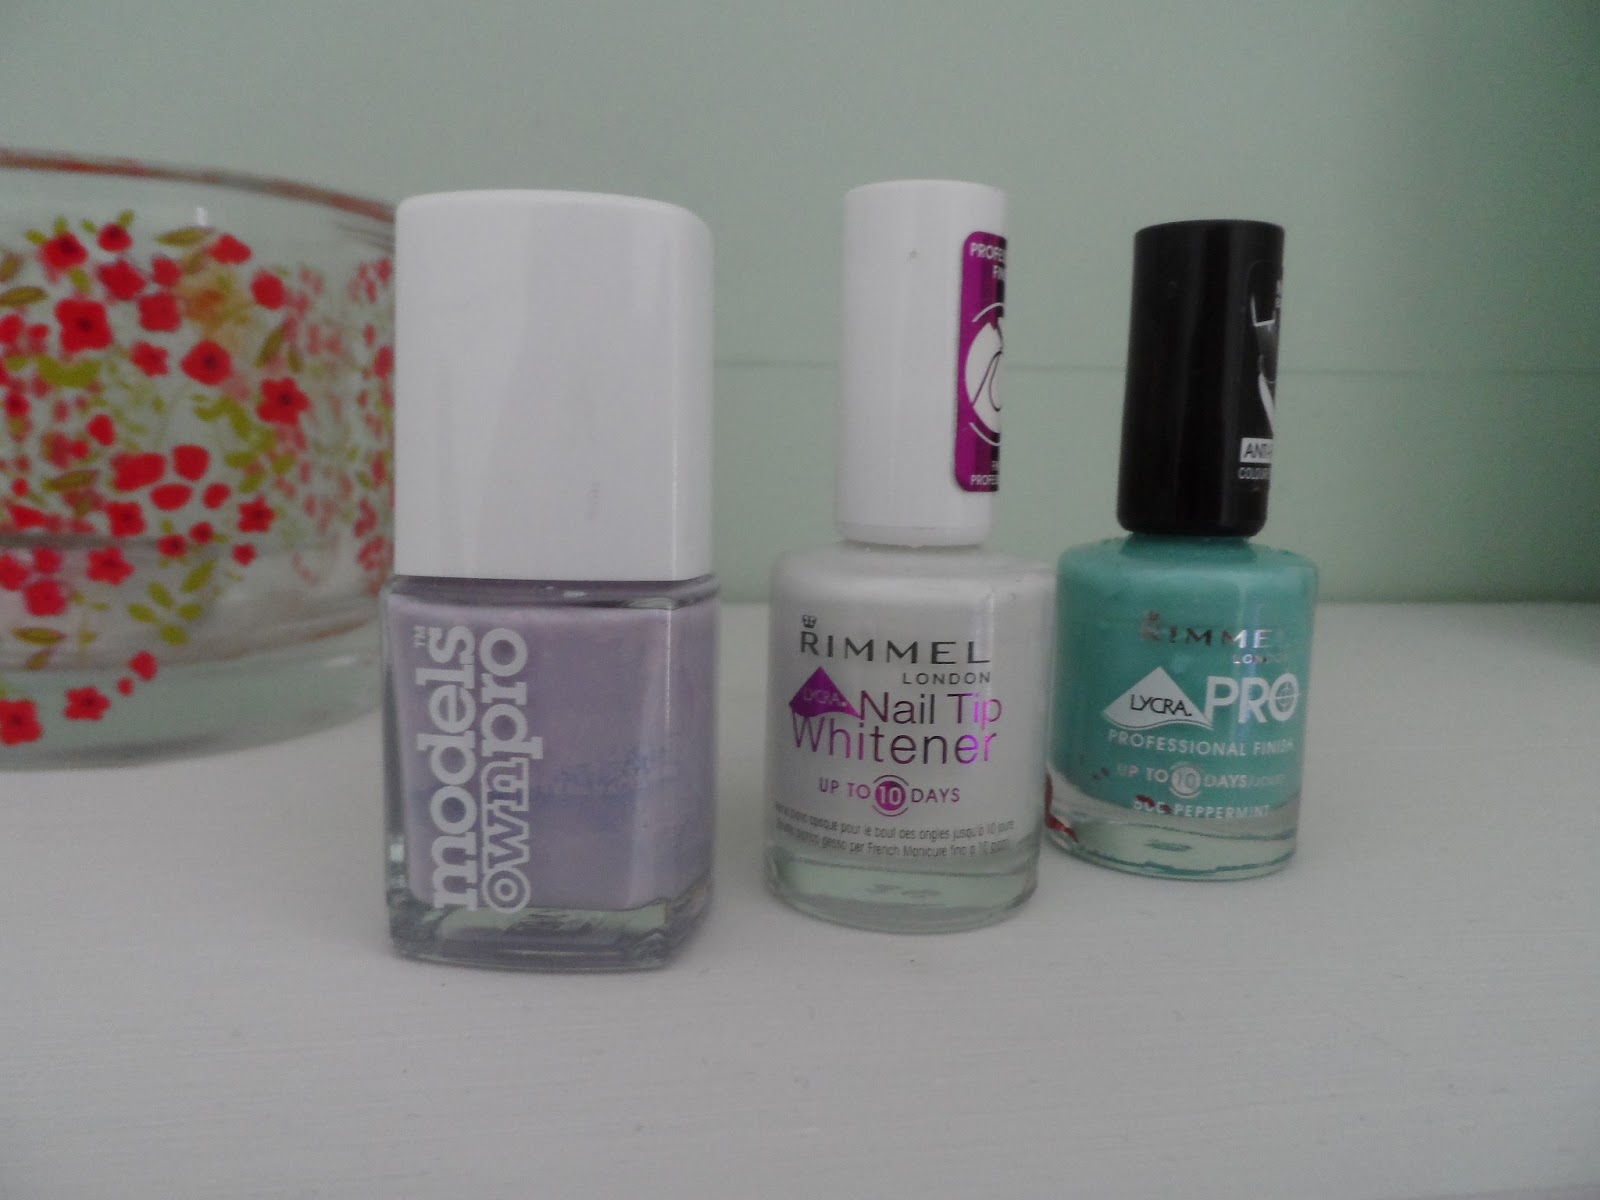
Now for the colour! I am applying a mint green, lilac and white to my nails (it's up to you how many different colours you use and which fingers you apply them to - the more the merrier I say!) It's really important you wait for the varnish to fully dry before going onto the next stage as we are adding a lot of layers and will smudge if you build it up before drying.


I also chose a pink bow to decorate my pointing finger as it contrasted with the colour scheme and pops out nicely!

Finish off with a good clear top coat to set the design and there you are! Spring pastel sparkly nails!!

Love, Melanie xx
Love love LOVE this!! Where'd you get the super cute bows from? :D
ReplyDeleteAlso the medic in me just thought you should know that messing with cuticles is increasingly becoming a bit of a no no. It increases the risk of infection and and nail deformities :( Try not to do it too much if you can help it :) xxx
Thanks! :) I got them from Topshop... they come in a pack with bows, stars, cupcakes and hearts, only a few pounds so you can't go wrong really!
ReplyDeleteThanks for the tip about cuticles! I have to confess, I don't do it too much anyway and when I do, I push them gently and pull away rather than push them in... Don't want any deformities like you say! xxx